You can install up to 4 EXUs on a Wave IP 2500 Server. EXU’s cannot be wall-mounted.
To install an EXU:
- Unplug the Wave's power cord, but do not disconnect the grounding wire.
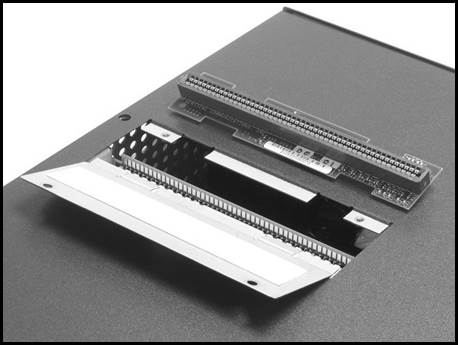
- Using a Phillips-head screwdriver, remove the connector hatch retention screws on the top of the Wave Server. Remove the connector hatch. Remove the backplane terminator from the base unit using both hands to pull it straight up and out.
Caution: Make a note of the direction that the backplane terminator is facing when you
remove so that you can replace it the same way. A reversed backplane terminator can cause malfunctions or damage the equipment.
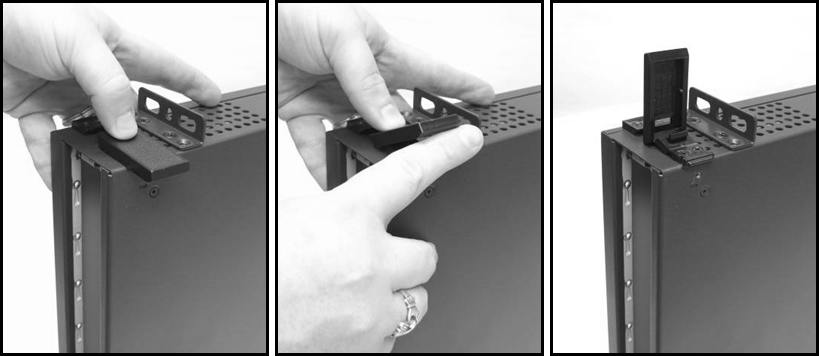
- Open the clips on the sides of the EXU.
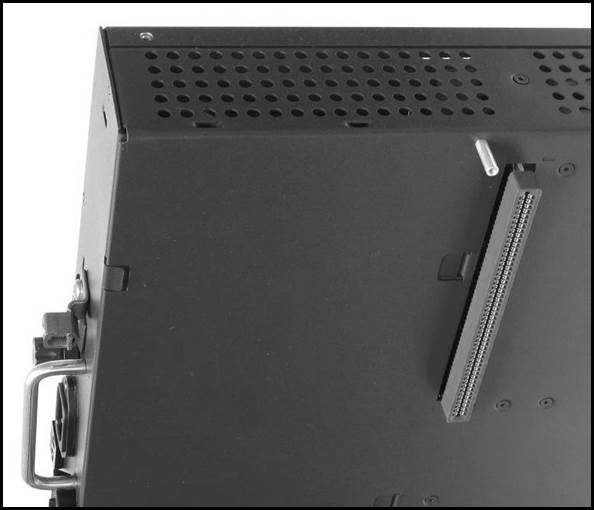
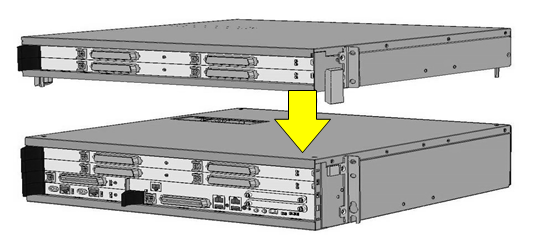
- The EXU has two alignment pins on the back that will line up with holes on the Wave. Lower the EXU on to the Wave making sure these pins fit into the hole and the back-plane connector fits .
- Gently apply force on the top of the EXU to engage the backplane connector.
- Engage all clips on the sides of the EXU to firmly attach it to the Wave.
- If the Wave is in a rack, then screw in two rack screws into the ears on each side.
NOTE: When mounting multiple EXUs in a rack, it is highly recommended to install a shelf or support under the Wave to support the weight of the EXU stack. Without this support, it is possible for the EXU connector to separate just slightly resulting in intermittent connectivity for cards in the EXUs.
- If you are adding another EXU, then repeat the same procedure.
- When you have installed the top EXU, then you will need to install the backplane terminator into that EXU. Make sure you align the backplane connector correctly based on the setting you recorded in Step 2.
- Install the connector hatch over the backplane terminator and screw in the screws.


