Auto-attendants are used to play recorded messages to inbound callers and offering them options to route to other extensions. Common uses include answering all inbound calls, answering out of hours calls, answering special nuumbers, and more. Auto-attendants have additional capabilities (see Auto-Attendants in the Global Administrator manual for more detail.)
To set up an auto-attendant:
- Login to User/Group Management (see Login to User/Group Management).
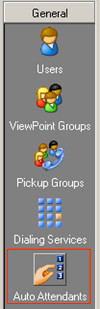
- Select Auto Attendants from the vertical General Menu.
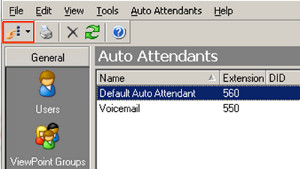
- Click on the New Auto Attendant icon in the toolbar (just under File). This will create a New Auto Attendant.
- Enter a Name to uniquely describe this Auto-Attendant. For example, Night Answer for 7688 number.
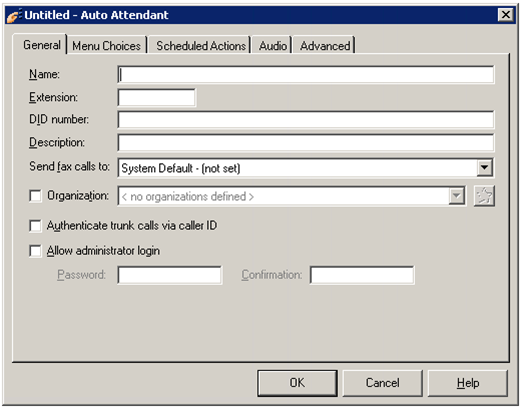
- Enter a unique extension for this Auto-Attendant. Extensions are normally begin with 5 and have four digits.
- The Description field is optionally available to provide more detail about the purpose of this Auto Attendant.
- Click on the Audio tab to create an introduction message. Click on Add.
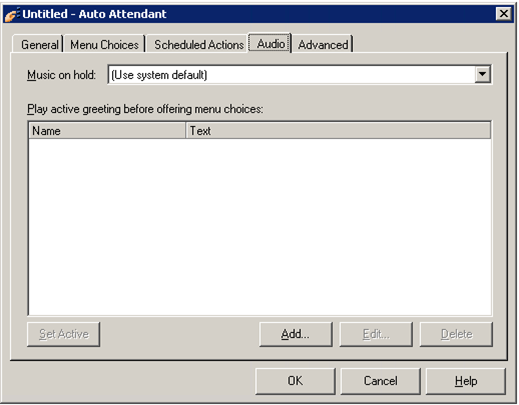
- Enter a name to describe the audio prompt. Then click on the record button (Red circle). The phone will go off-hook (or ring if it's an analog phone). Record the prompt and click the stop button (blue square).
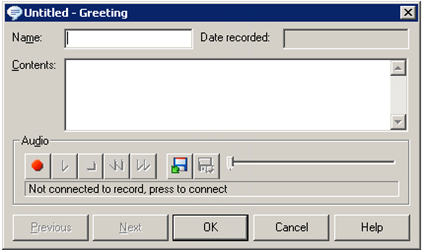
Note: Studies show that introductions on auto-attendants should be short and to the point. Try to keep the introduction prompt down to 3 seconds.
- It's also possible to import an existing audio file as the prompt. Use the import button and browse to the prompt file. The file must be already on the Wave.
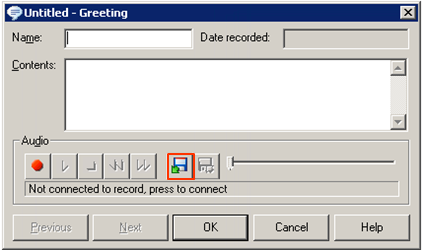
- Click OK to save the prompt.
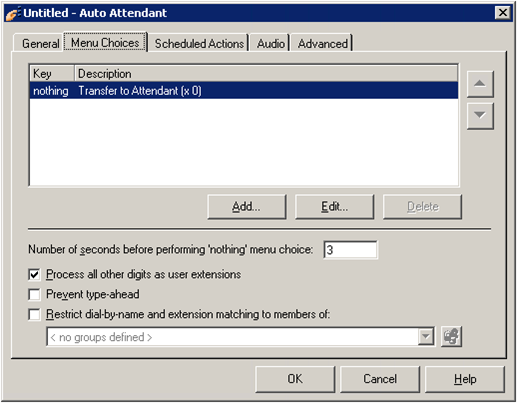
- Click on the Menu Choices tab to add options to the Auto Attendant. Click Add.
- Use the top section to record a prompt specific for this menu option.
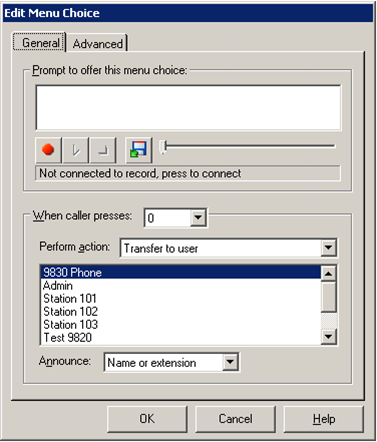
- Choose the digit for this menu option (each digit can only be used once in an auto-attendant.
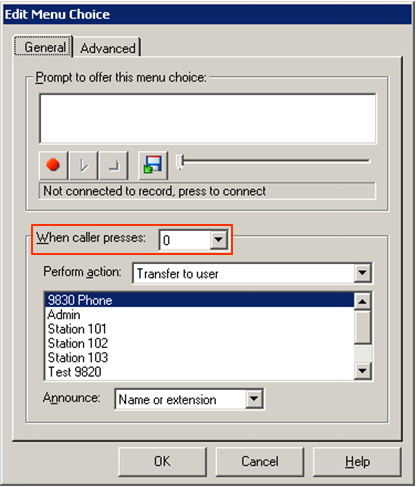
- Click on the Perform Action dropdown box to choose what kind of action to choose for this option.
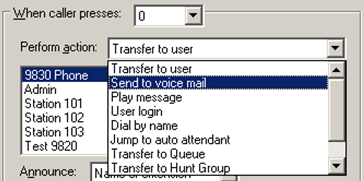
- Transfer to user- Select an individual user's extension to transfer to.
- Send to voice mail- Transfer directly to a voice mailbox without ringing an extension.
- Play message- Record a prompt to playback when this option is chosen (for example, play directions to the office.)
- User login- Provide a prompt to allow a user to enter their extension and access their voice mailbox with a password.
- Dial by name- Access a directory of all extensions.
- Jump to auto attendant- Transfer to another auto attendant.
- Transfer to Queue- Send the call to a contact center queue.
- Transfer to Hunt Group- Send the call to an ACD group.
- Auto attendant configuration- With a password, a caller can change the prompt on the auto attendant (for example, to play an inclement weather message saying the office is closed.)
- Transfer to Meetme Conference Room- Send the caller to a Meetme Conference Room.
- For most options, there will be a need to specific a target extension.
- Next, add additional menu options.
Note: Studies show that auto attendants should not have more than 5 menu options. Also, do not stack too many levels of auto attendants.
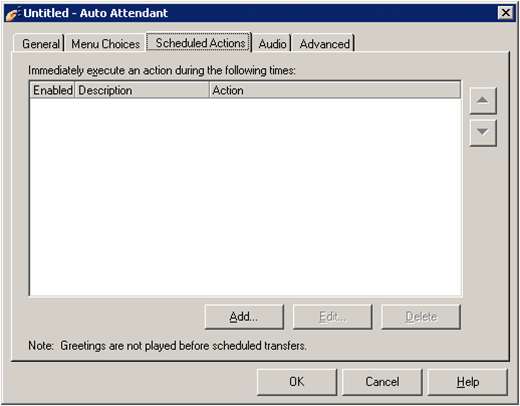
- The last step is to add scheduled options. These options change routing based on time of day.
- Choose the schedule during which the this Action will occur. All of the standard options are based on the Wave business hours. If business hours have not been previously set, then click the Business Hours to establish the company's hours.
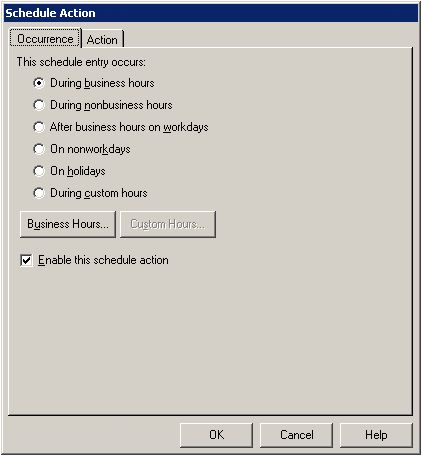
- Click the Enable this schedule action checkbox to enable this scheduled action.
- Choose the Action tab to set the resulting action for this schedule.
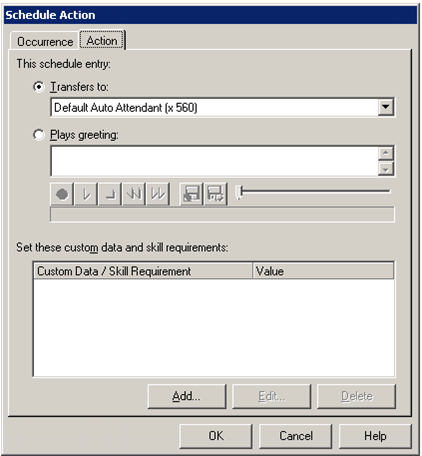
- The two options are to either transfer to another extension (for example, transfer to an out of hours auto attendant with different options), or play a different greeting while still offering the auto-attendant menu choices. When doing the latter, use the audio toolbar to record the greeting or import a file.
- Click OK to complete the auto attendant.


