There are two types of expansion cards. Full-size cards and one-third modules. Modules can be installed in IP 500s or IP 2500s. Full-size cards can only be installed in the IP 2500 (base unit or EXUs).
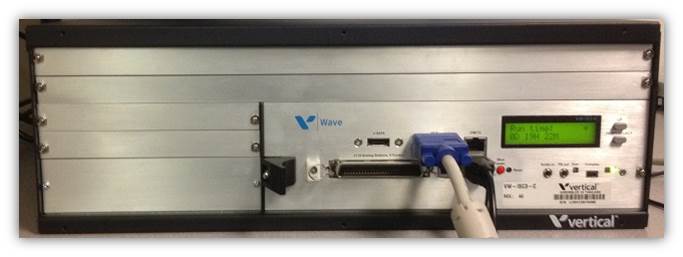
- Shutdown the Wave properly (either from Global Administrator, or by pressing and holding the red Shutdown button on the front of the Wave. Note: Cards are not hot-swappable. The system must be shut-down to install or remove cards.
- Unplug the power cord, but leave the system grounded.
- Remove the blank face-plate from the slot. Using a small Phillips screwdriver, unscrew the two screws. The screws will not come out of the slot, but will come loose.
- Slide the card or module into the appropriate slot. Do not use any force to push it it should come to a stop just short of being flush with the rest of the faceplates.
Note: The slot will have two sets of guide rails. Modules will align with the bottom guides. The full-size cards will align with the top guides.
- Use the black clip on the left-side of the card or module to seat the card by pressing the clip to the right. It should pop into the slot which will make the card flush with the other faceplates.
- Using a small Phillips screwdriver, screw in the right-side screw on the card or module. Then screw in the left-side screw under the black clip.
- Make sure the red power rocker switch on the back of the Wave is turned to the off position.
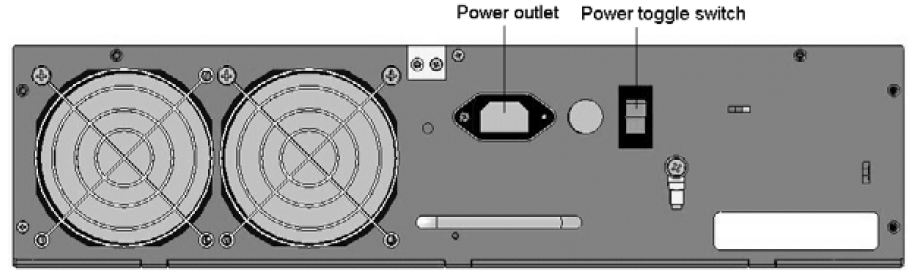
- Plug the power cord in to the box. Flip the power switch back to on.
- Verify the card is recognized by logging in to Global Administrator (see Log in to GA) and clicking on the Chassis View. The card should appear in its; appropriate slot.
