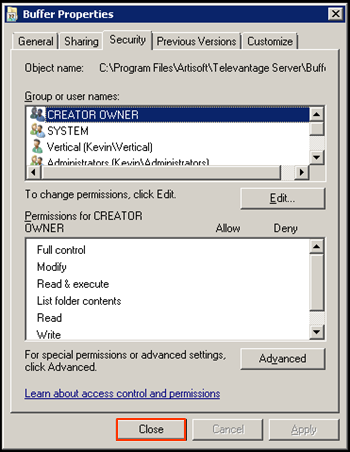
- On the PC where the actual network share will reside, open Windows Explorer. Do this using one of these methods:
- On the keyboard, pressing the Windows Key + E
- Pressing Start and clicking on Computer.
- Navigate to the location chosen for the new folder using the left-hand folder navigation window (the image above is Windows Server 2008. The appearance may change slightly depending on Windows OS, but the left-hand folder navigation bar will still appear.)
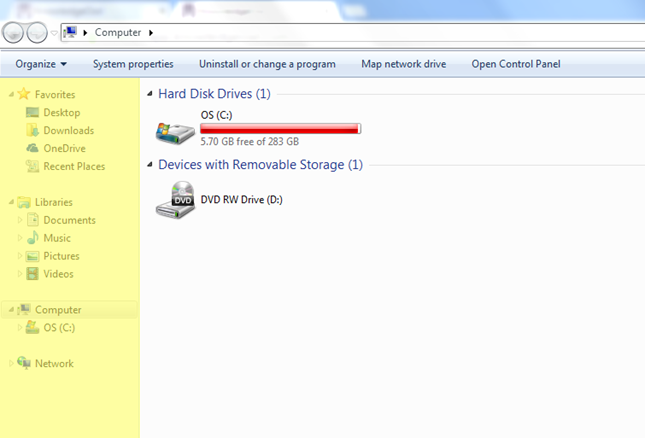
- Right-click anywhere in the whitespace beneath the files and select New and Folder to create a new folder.
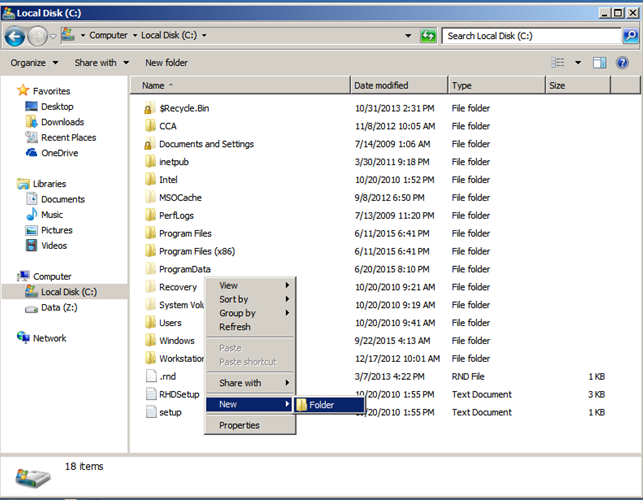
- The folder appears. Type the name desired, for example, "RecordingArchive" and press Enter to save it.
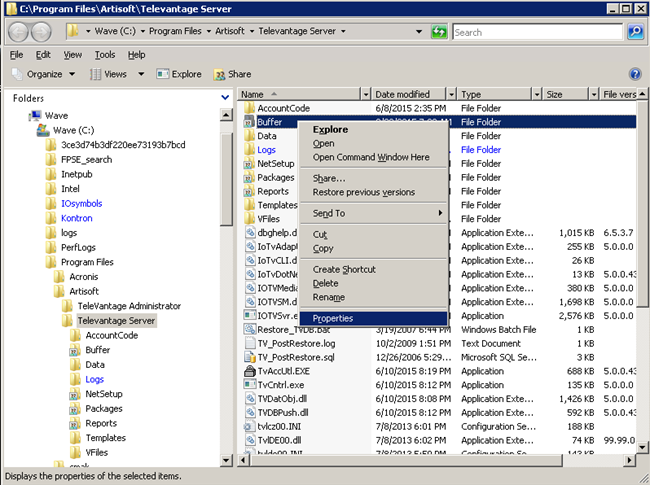
- To share the folder, right-click on the new folder and choose properties from the menu.
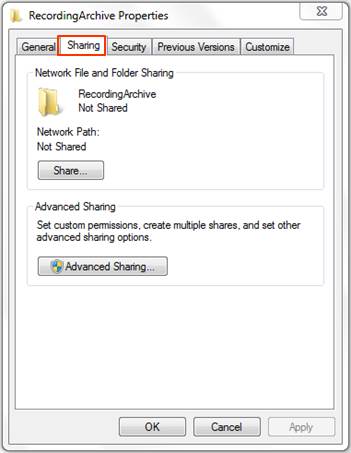
- Click on the Sharing tab to create a network share.
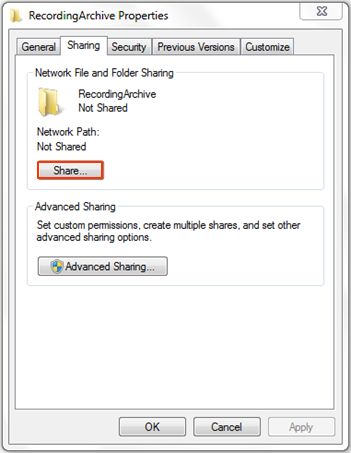
- Click on the Share button.
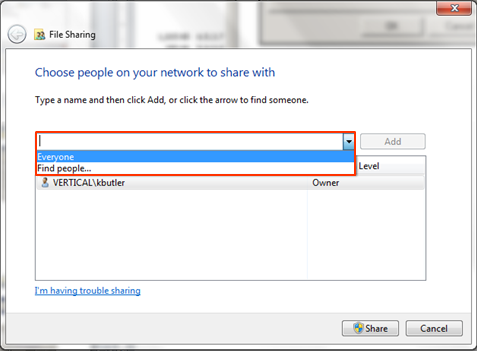
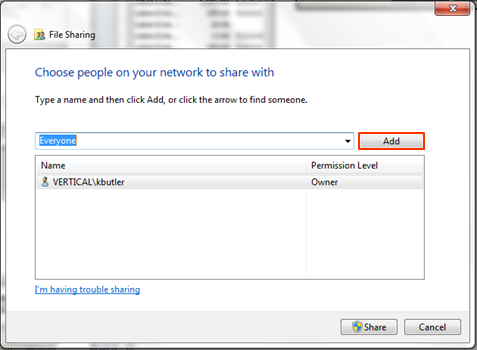
- Click on the drop-down box and select Everyone.
- Click on Add to Add the Everyone group.
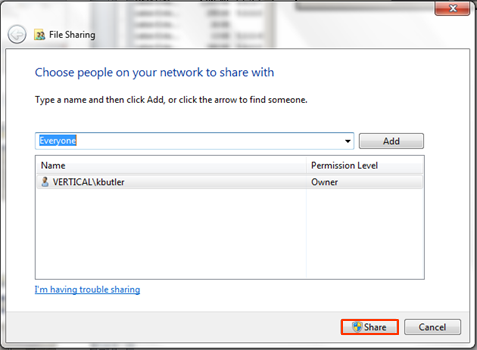
- Click the Share button.
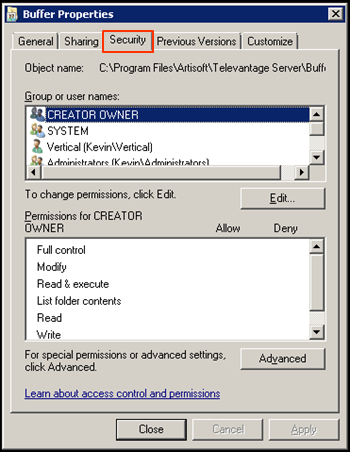
- The Security tab controls permissions to access the share. Click on the Security tab to set permissions on who can access the folder.
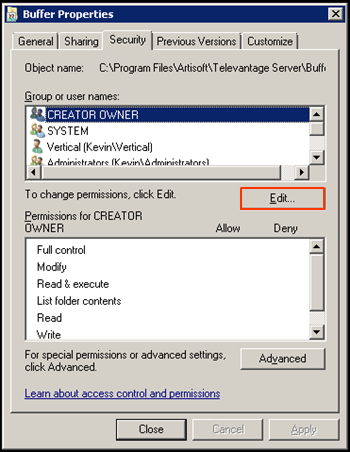
- Click the Edit button to enter the list of users.
- Click the Add button to add a user or group.
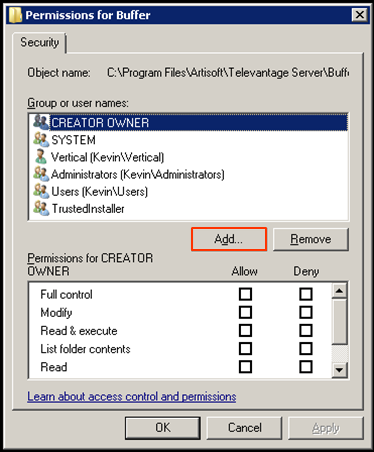
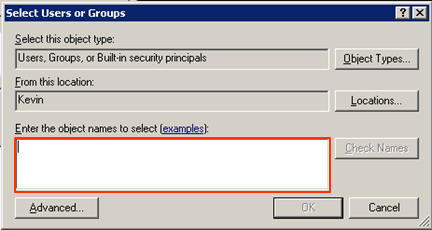
- Enter the name of the user in the 'Object names' field. This can either be a user or group on the local Wave IP or an existing user account or group from a domain (requires the Wave IP to already be joined to the domain). The user or group must already exist (to add a user see Add a Global Administrator User). If the object isn't recognized, change the location of the object (from local to domain or vice-versa) to get it to recognize the user or group specified.
- Press OK to add the user.
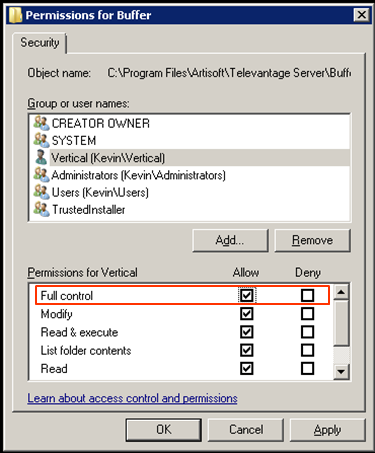
- Make sure the User has Full Control checked in the list of Permissions.
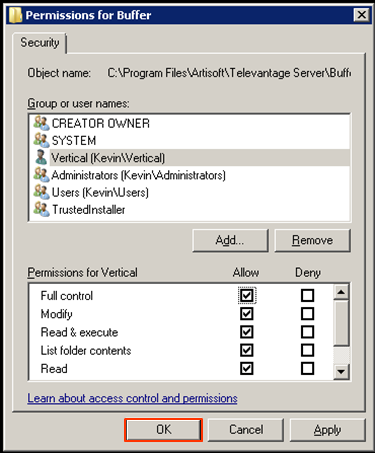
- Press OK to save the permission changes.
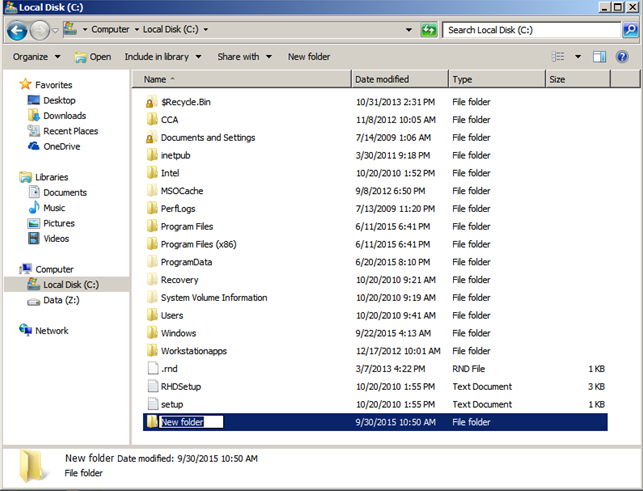
- Press Close to exit the properties box.
