Trunk groups are used to associate multiple phone lines together. This allows configuring common inbound and outbound routing sessions. Trunk groups are only used for TDM trunks (either digital or analog). SIP trunks are configured using an SCP (see Add a SIP Trunk (SCP)).
To configure trunk ports:
- Login to Global Administrator (see Login to Wave IP Global Administrator).
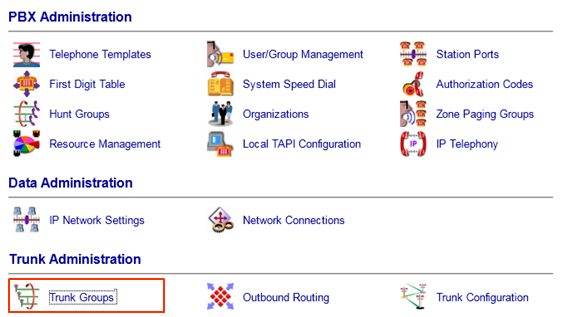
- Choose Trunk Groups from Global Administrator.
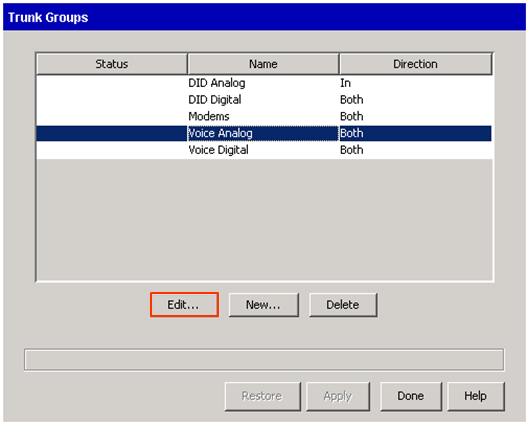
- Wave has a pre-configured trunk group for digital and analog trunks. Unless these are already in use, use the default groups for faster configuration and accept the defaults. If an additional trunk group needs to be created, then click New and assign a unique Name to the trunk group. Otherwise, choose a pre-configured trunk group by clicking on it and choose Edit.
- The Trunk Group dialog is divided into three parts. The first part is "Direction" at the top of the window. This allows setting the trunk group up to only accept Inbound calls, only allow Outbound calls, or allow calls in both directions. The Both setting is most common. By default leave it at that.
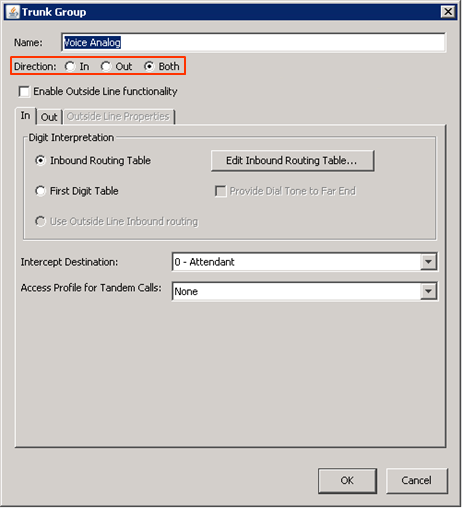
- The second division is the Inbound tab. This tab controls how inbound calls are how routed. Normally, a trunk group is set to Inbound Routing Table (See Configure Inbound Routing Table).
The other options are:- First Digit Table- If the Trunk Group is used as a tie line (for example, to a third party device or system), then calls may be sent to the First Digit Table to allow that system to dial extensions on the Wave. A checkbox allows providing dial tone to the far end.
- Outside LIne Inbound routing- Outside Line is a specific feature used to make the Wave behave like a key system Only enable this when using the Outside Line feature. There is also a further tab for setting Outline Line functions. (see Outside Line for more information).
- The Intercept Destination provides a destination for inbound calls if the Inbound Routing table is not configured or there is no match. Use the drop-down box to select an extension.
- The Access Profile for Tandem Calls allows setting the level of call routing permissions used if an inbound call is forwarded out another trunk. See Tandem Call routing for more information.
- The third division is the Outbound tab. This has two sections.
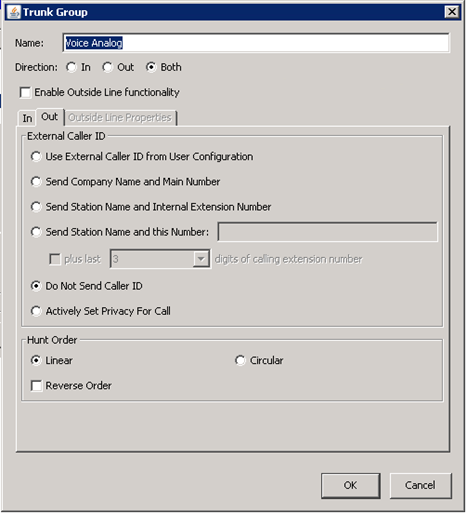
- External Caller ID allows default configuration of callerID for all calls routed out this connection. See Caller ID for more information.
- Below that, the Hunt Order box offers control of the order in which calls are made out the trunks in the group. With analog trunks, this is influenced by the order in which the lines are plugged in to the physical ports. With digital trunks, it's controlled by the carrier.
- Check with the carrier to determine the order used.
- Analog Trunks- The order will be a list of phone numbers and the direction.
- Digital Trunks- The carrier will normally have a hunt order assigned to each T-1 circuit. Usually this is top-down or bottom-up, but carriers can also assign more advanced algorithms that hunt for trunks in different ways.
- Wave offers two hunt orders:
- Linear- Starts at the beginning of the trunk hunt group and proceeds downward until an open line is found.
- Circular- Starts at the point of the last successful outbound call and continues down the list from there.
- The order of either of these can be reversed by using the Reverse Order checkbox. This means:
- Linear- Starts at the bottom of the trunk hunt group and proceeds upward until an open line is found.
- Circular- Starts at the point of the last successful outbound call and continues up the list from there.
- Configure the hunt order to be opposite the carrier's inbound hunt order to minimize Glare (Glare is when an inbound and an outbound call are sent on the same trunk at the same time. It can cause calls to fail.)
- Once hunt order is set, the trunk group is configured. Click OK to complete edits or create the new Trunk Group. Proceed to Trunk Configuration to complete setup of trunks. See Trunk Configuration.


