SIP Trunks are added in Wave using a Signal Control Point (SCP). Add one for a given SIP trunk provider (no matter how many simultaneous SIP calls it can handle). The system must have a SIP Trunking license installed (See Add Licenses to Wave). The system must also have resources assigned to it for dealing with IP calls (See Set Resource Management).
Process for adding is:
- Login to Global Adminisistrator (see Login to Wave IP Global Administrator).
- Choose IP Telephony.
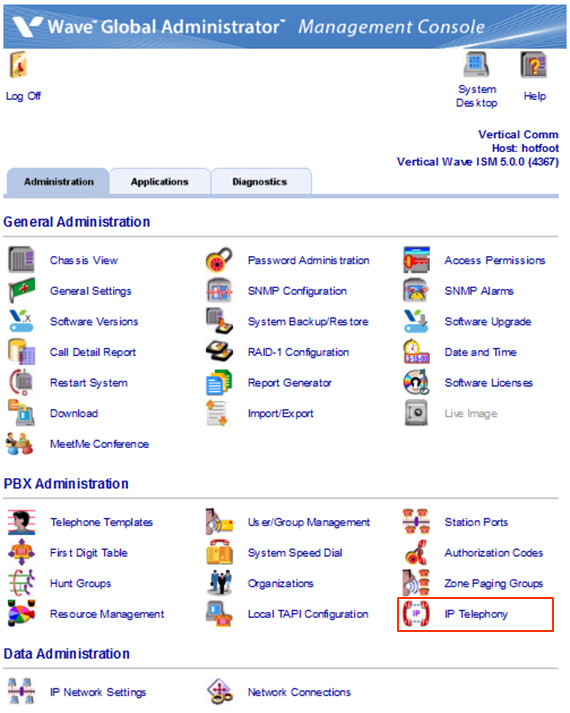
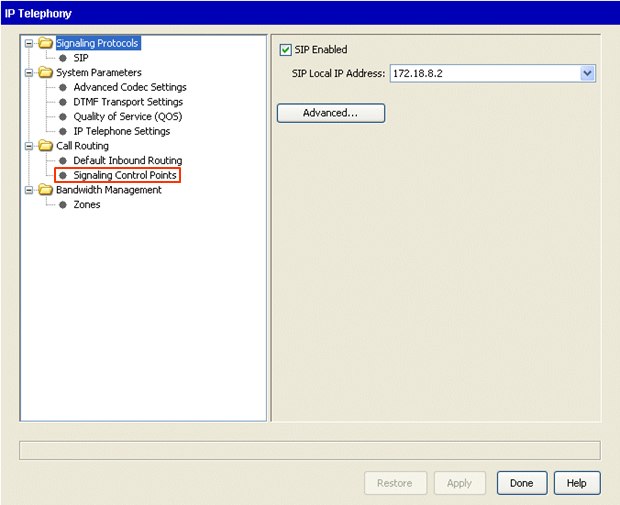
- Make sure SIP is enabled. If you have not enabled it previously, check the box.

Note: If the checkbox is grayed out and can't be checked, then the system likely does not have a SIP Trunking License installed. Make sure to install the license. See Add Licenses to Wave.
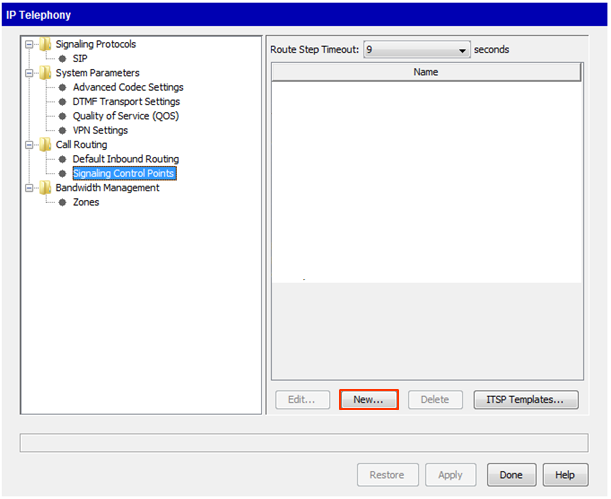
- Click on Signaling Control Points.
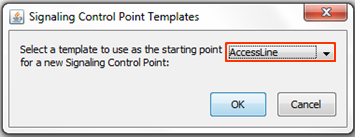
- When using a Vertical Certified ITSP, select ITSP Templates.
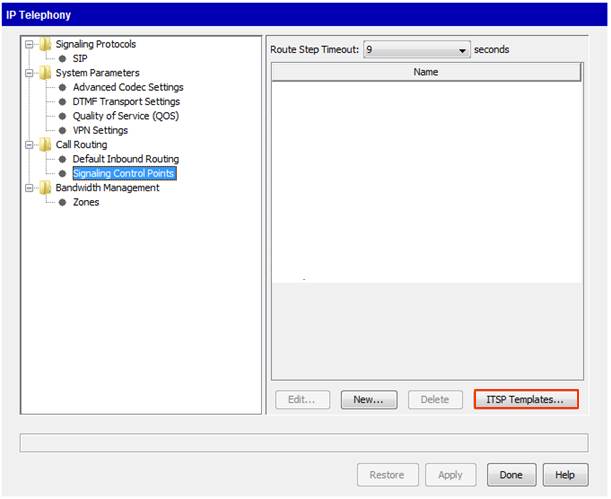
Note: If not using a certified ITSP, select New. Vertical cannot guarantee the settings or effectiveness when using a non-certified ITSP.
- Use the drop-down box to select the appropriate certified ITSP and click OK. This will apply Vertical approved settings for working with this ITSP.
- First, enter a descriptive name for this connection.
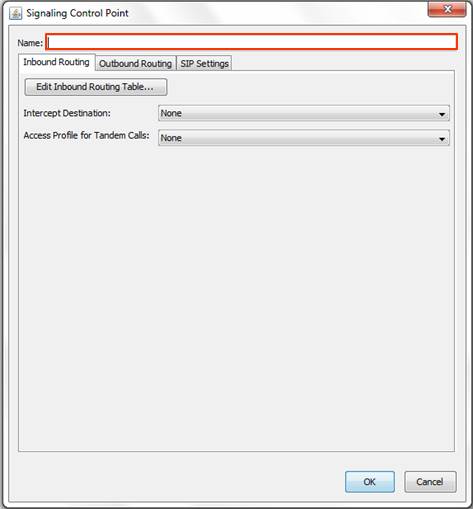
- The first tab alllows configuration of routing all inbound calls on this connection.
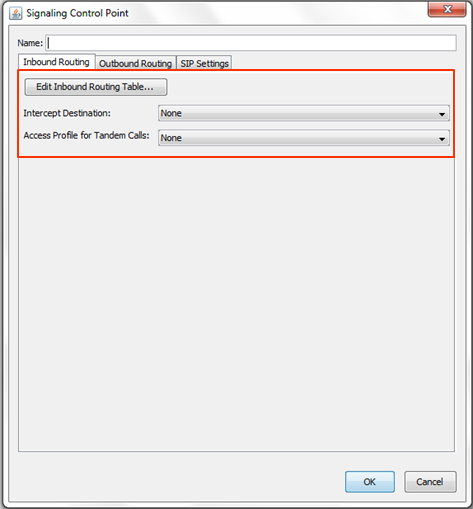
- Inbound Routing Table button- Specify complex routing for inbound calls. See Configure Inbound Routing Table for more information.
- Intercept Destination- Select an extension as the destination for all calls. This is used if the Inbound Routing Table doesn't provide direction.
- Access Profile for Tandem Calls- Choose the level of call routing permissions used if an inbound call is forwarded out another trunk. See Tandem Call routing for more information.
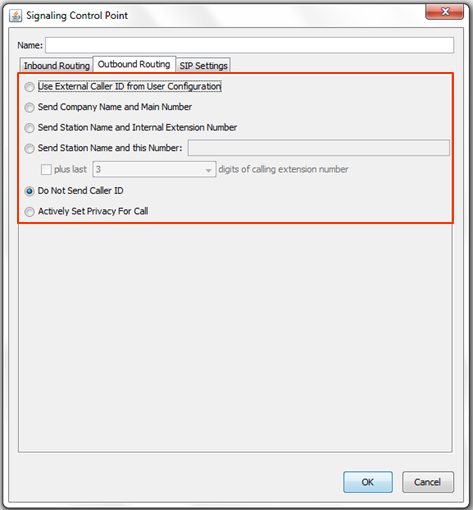
- The Outbound Routing tab allows default configuration of callerID for all calls routed out this connection. See Caller ID for more information.
- The SIP settings tab has technical configuration options for the SIP connection. This includes a number of fields that will automatically be set by the ITSP template.
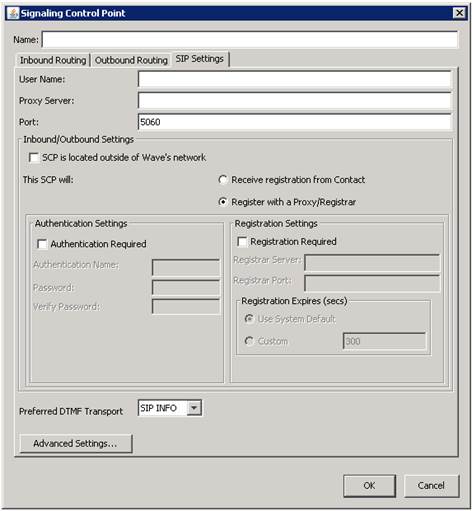
- The User Name and Proxy Server fields must be filled out. These settings will be provided by the ITSP.

- Other settings may be required on this page. The ITSP template will activate them if necessary (for example, Broadvox requires a registrar server and authentication so each of those categories are enabled.)
- After filling in those required fields, click OK to create the new SCP.


