Installing an Open VPN Server Virtual Machine is necessary to support remote phones (see OpenVPN Server Overview). This article outlines the process.
- Install VMWare Hypervisor (see videos in VMWare instructions). This will require registering for a free account with VMWare.
- The above setup includes setting an IP address and default password for the Hypervisor which will be used later. Make sure to record both of these pieces of information for use later.
- Load, license, and configure the VSphere client (should be covered in videos available here).
- Download the OpenVPN.zip file from VConnect or obtain it from your Vertical authorized dealer or direct support representative.
- Extract the two files (OpenVPN_Deploy and OpenVPN_Deploy_Flat) from the ZIP by right-clicking and choosing Extract. Make sure to record the location wher the files were extracted.
- Launch the Vsphere client using the IP address set during install. The credentials should be the default username of "root" and the password select during install.
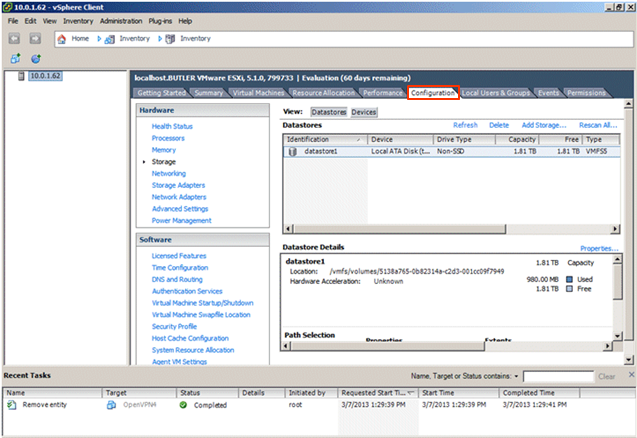
- Click on the configuration tab for this hypervisor.

- Right-click on the data-store and choose browse.
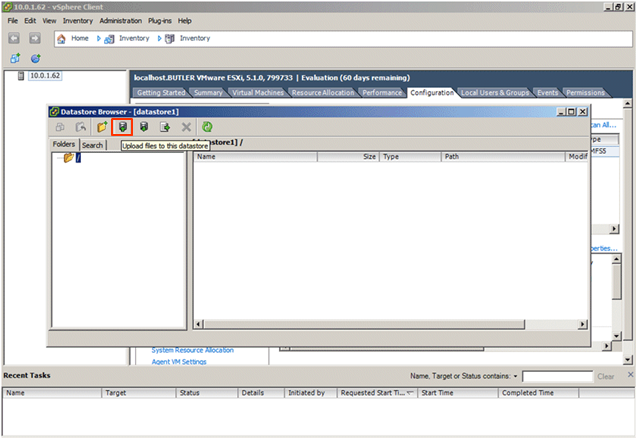
- In the Datastore Browser, click the Upload files to this datastore button on the toolbar.

- Click Upload File.
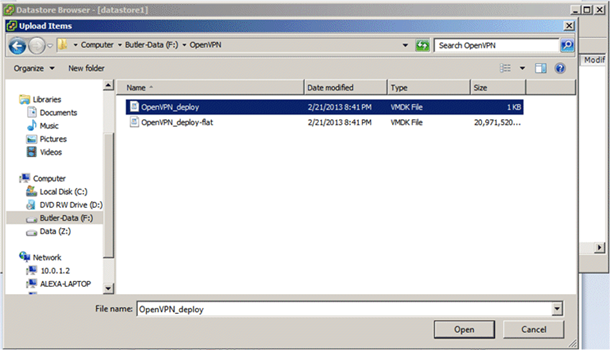
- Browse to the location where the OpenVPN disk image files were saved and highlight both files (do this by holding the Shift button). Click Open to upload both files.
- Once the disk image is loaded to the datastore, create the new Virtual Machine.
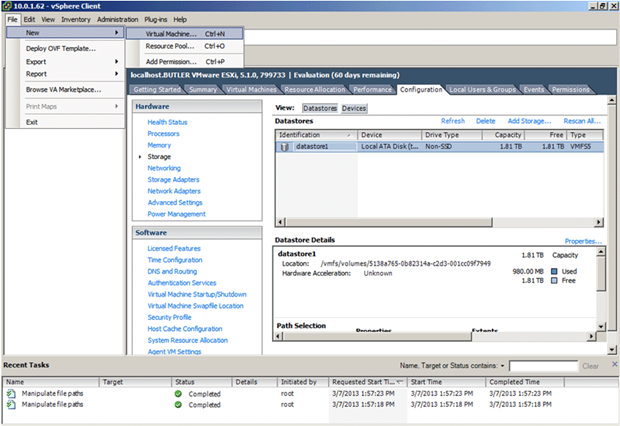
- Click File > New > Virtual Machine.
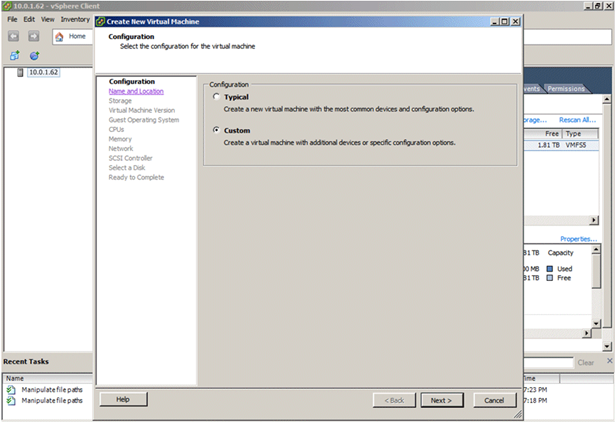
- The Create New Virtual Machine wizard starts. In the Configuration screen, choose Custom. Click Next to continue.

- In the Name and Location screen, enter a Name for the new virtual machine, and then click Next.
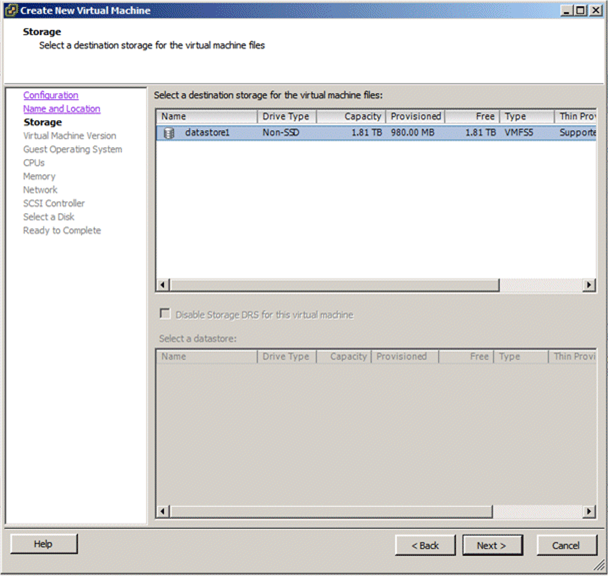
- In the Storage screen, select the datastore containing the VM disk image. Do not specify the VM disk itself on this screen, just the datastore. Click Next to continue.
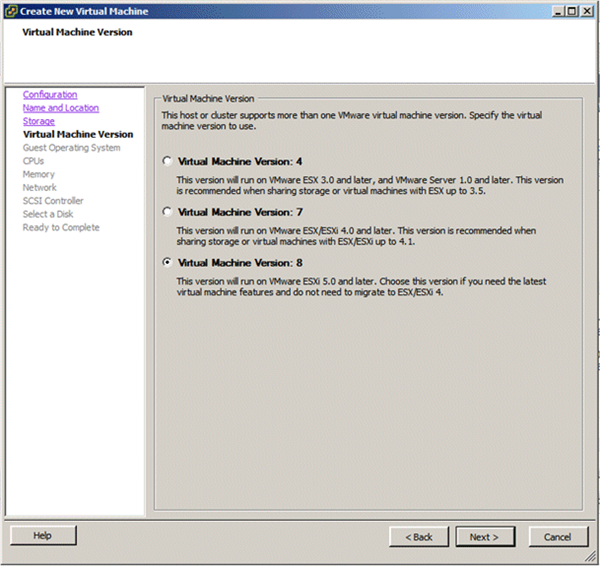
- In the Virtual Machine Version screen, choose VMWare 8 and then click Next.
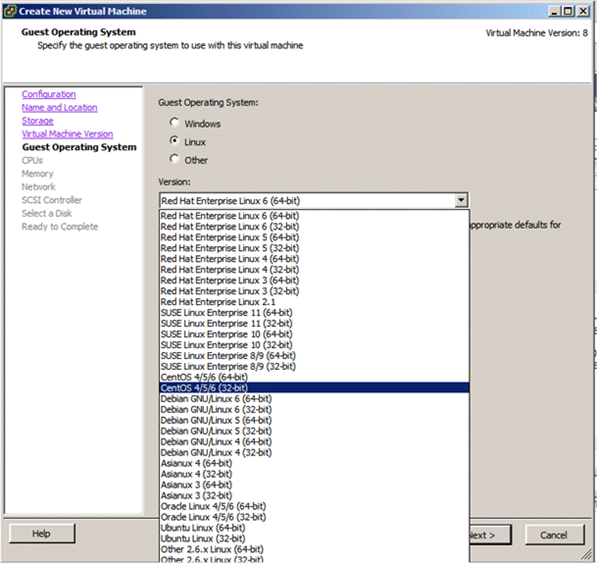
- In the Guest Operating System screen, choose Linux as the Guest Operating System and then select CentOS 4/5/6 (32-bit) from the Version drop-down list.

- In the CPUs screen, specify the number of processors needed, and then click Next. The default values are typically adequate.
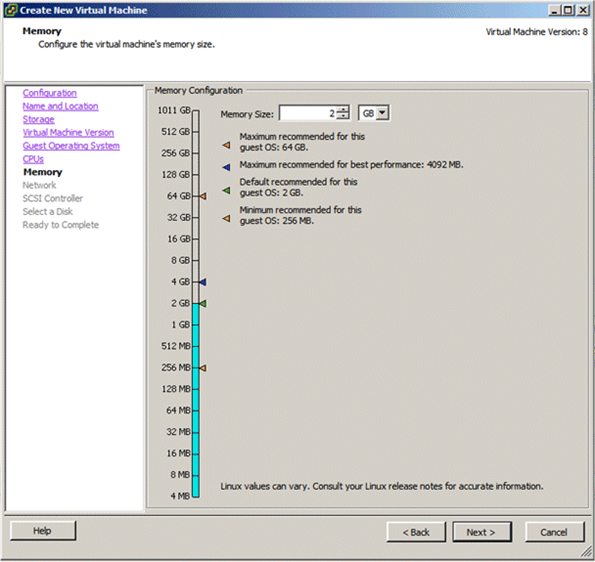
- In the Memory screen, specify the amount of RAM needed, and then click Next. The default value is typically adequate for the VPN usage.
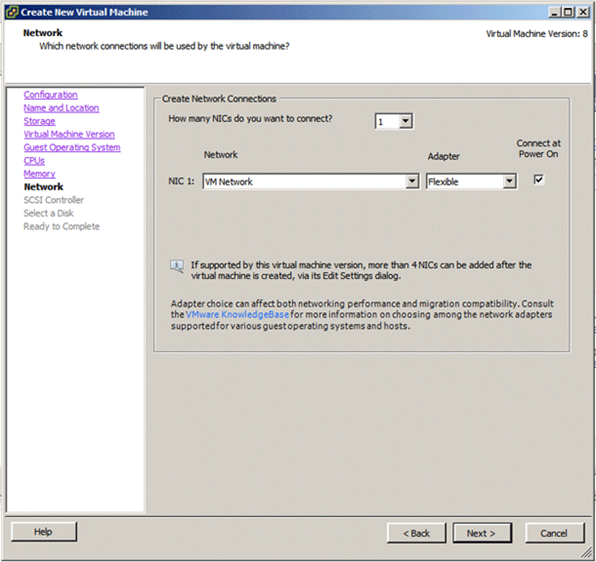
- In the Network screen, specify the number of network adaptors needed., and then click Next. The default values are typically adequate.
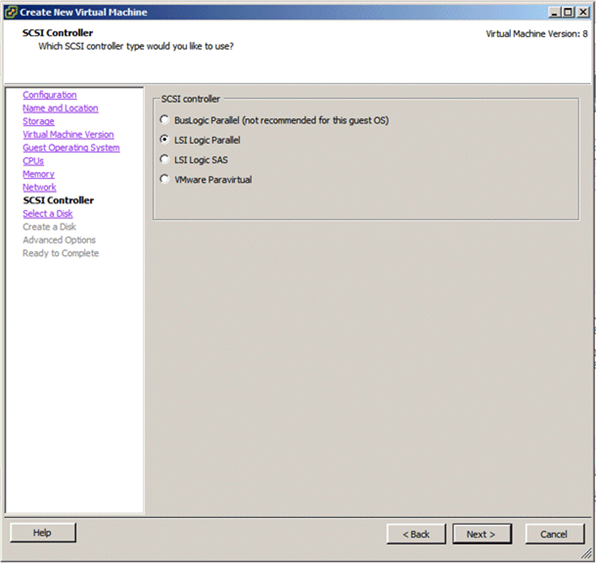
- In the SCSI Controller screen, keep the default value, and then click Next.
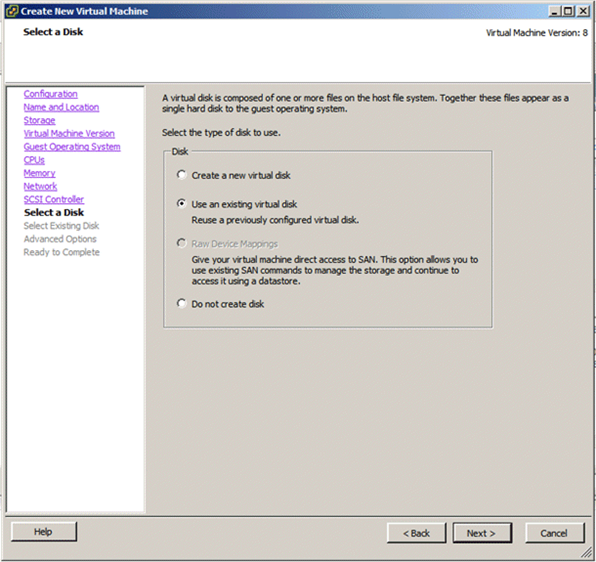
- In the Select a Disk screen, click Use an existing virtual disk, and then click Next.
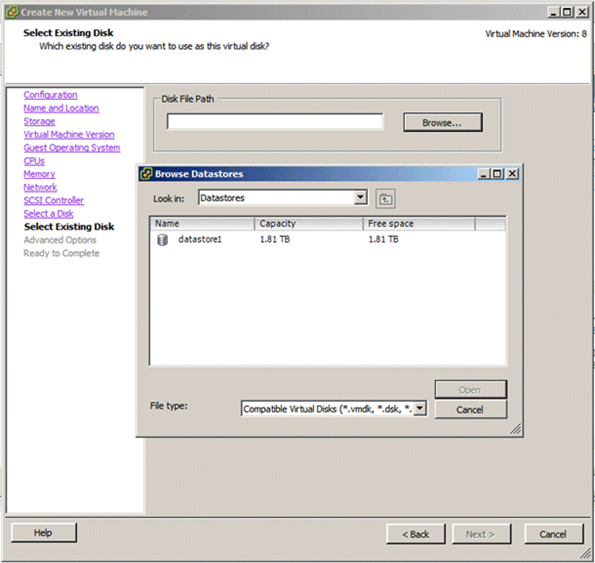
- In the Select Existing Disk screen, browse to the location of the disk files, and then click Next. Double-click on the datastore, and then select the OpenVPN file and click OK.
Note: If no OpenVPN file appears, the VMDK files may not have both been uploaded (OpenVPN_deploy and OpenVPN_deploy-flat). Make sure that both files were uploaded into the datastore.
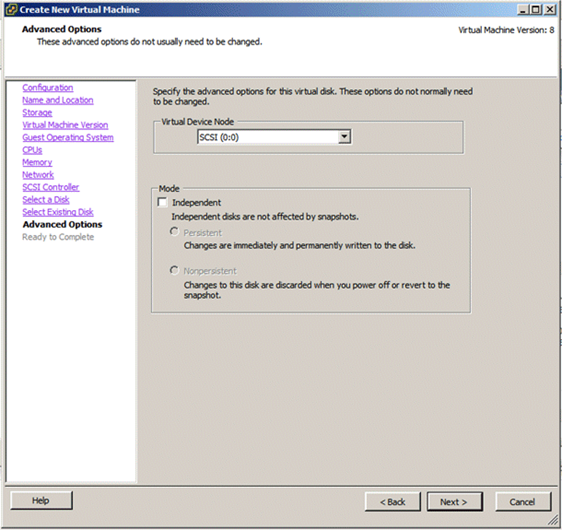
- In the Advanced Options screen, leave all settings unchanged. These are expert settings that should not be changed except by an experienced VMware user and addressing a specific issue. Click Next to continue.
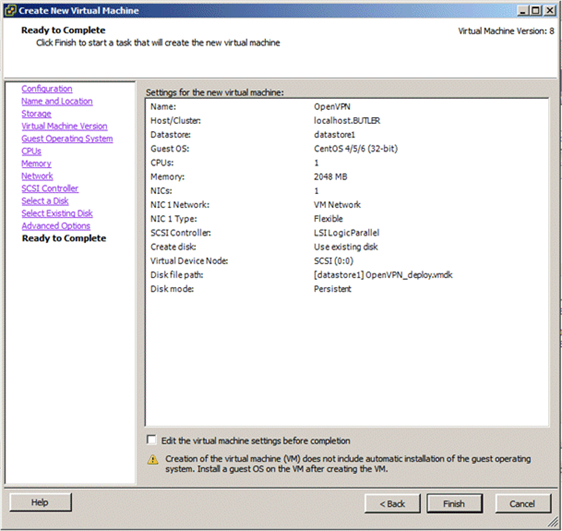
- In the Ready to Complete screen, review your selections and then click Finish.


