Install SQL
- Download Microsoft SQL 2008 R2 (Wave 5.0 & earlier) or Microsoft SQL 2017 (Wave 6.0, with ViewPoint HF 30 or higher, or Wave 7.0).
NOTE: SQL Server 2017 installation steps are very similar to SQL 2008R2, which is detailed below.
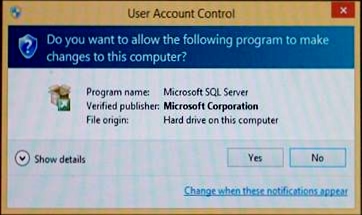
- Double-click the install file. A 'User Account Control' dialog appears. Click 'Yes' on the dialog.
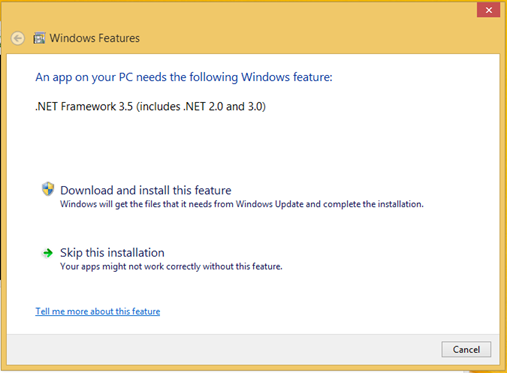
- A dialog may appear announcing that ".Net Framework 3.5" needs to be installed. If so, choose 'Download and install this feature." When finished, click Close.
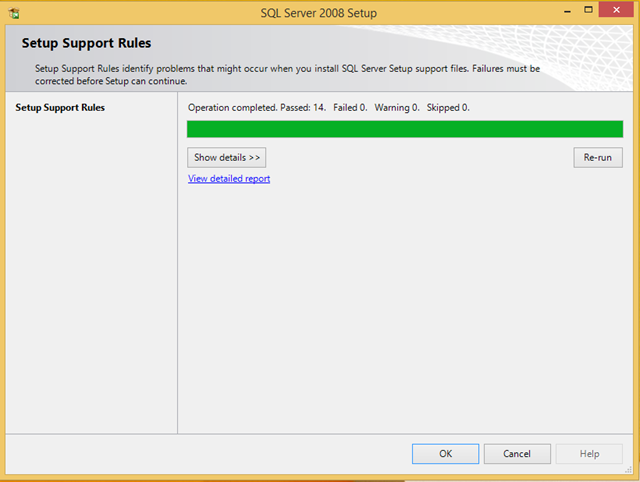
- The SQL Server Installation Center appears. Click on the Planning category and then on the "System Configuration Checker" to verify there are no problems.
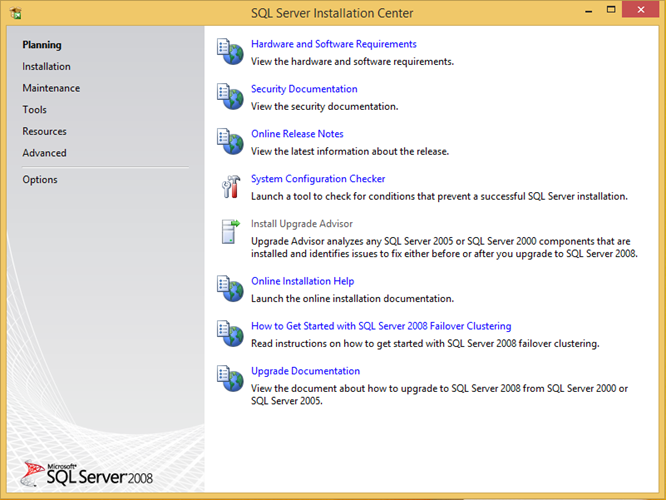
- If problems are found, resolve them. If no problems are found, click OK to close the configuration checker.
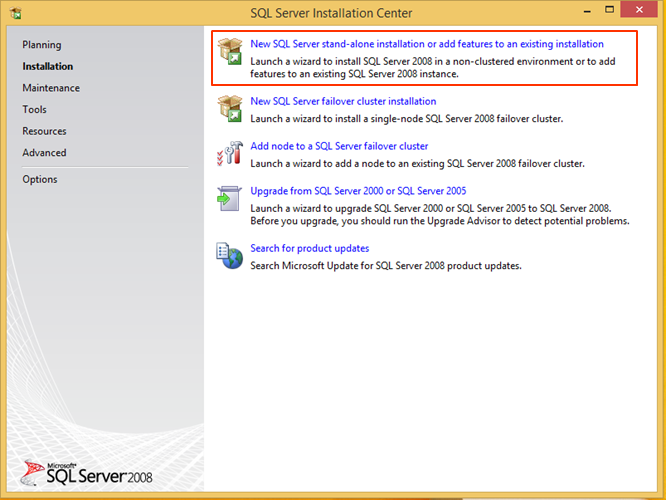
- Click on the Installation category.
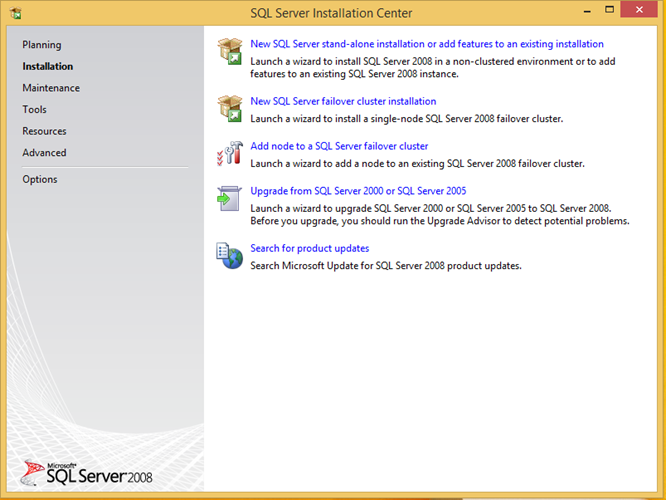
- Click on New SQL Server stand-alone installation...
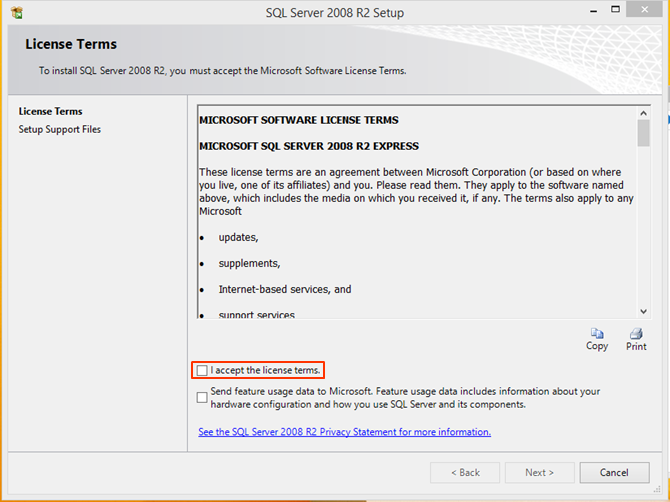
- The Install Wizard starts and a License Terms box appears. Click "I accept the license terms" and then click Next.
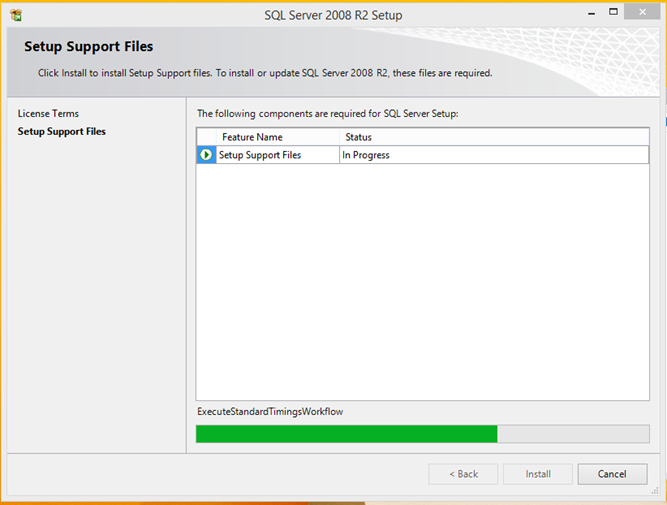
- The system installs support files.
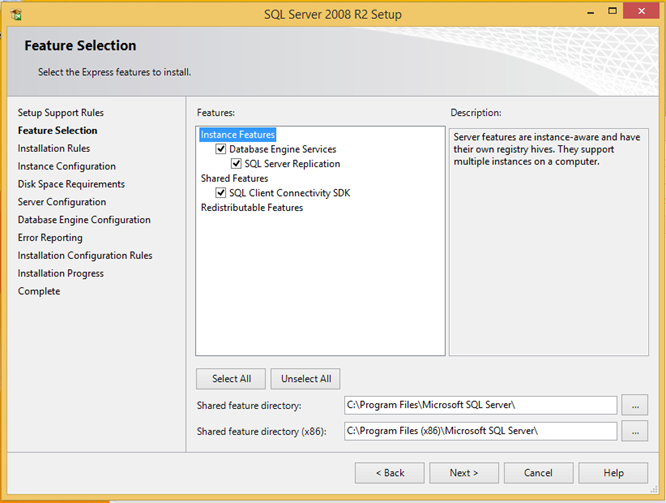
- Next, Feature Selection appears. Leave all defaults in place and click Next.
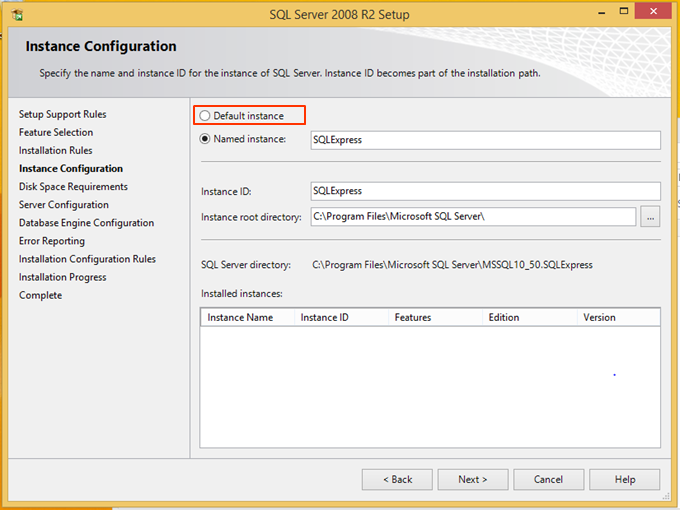
- Next, Instance Configuration appears. Change the instance to the "Default Instance" setting. Click Next.
THIS STEP IS THE MOST OFTEN MISSED. YOU MUST CHANGE TO THE DEFAULT INSTANCE.
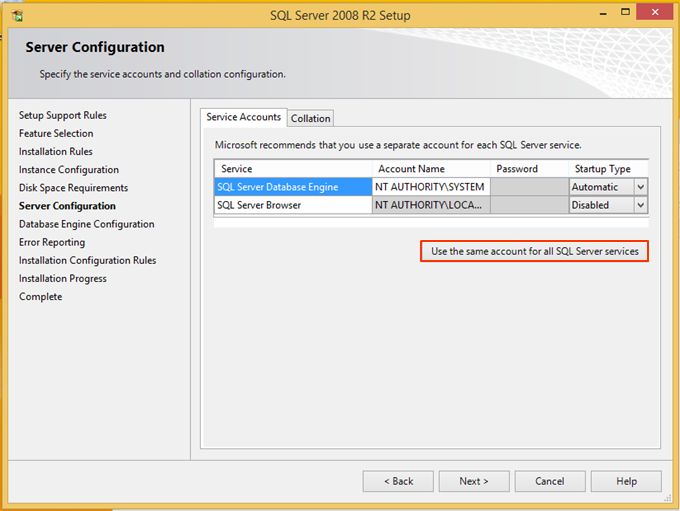
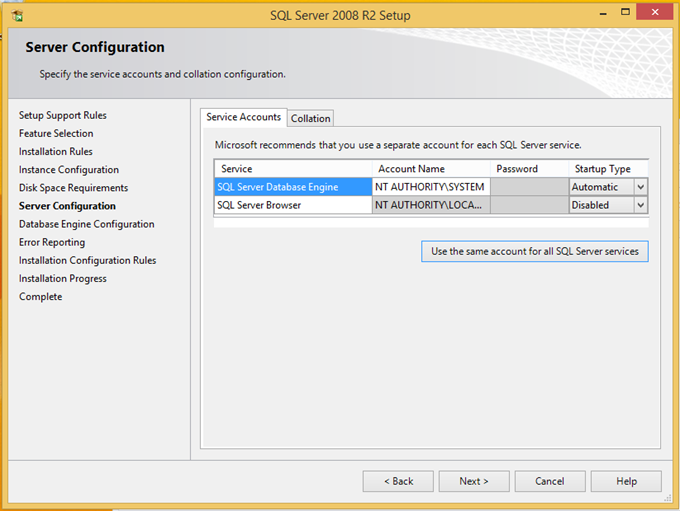
- Next, Server Configuration appears. Click the "Use the same account for all SQL Server services" button.
NOTE: If required for security reasons, it is possible to run 'SQL Server Database Engine' as 'NT Authority\NETWORK SERVICE'. This will require you to create the 'C:\Program Files (x86)\Vertical Wave\Recording Archive Service' folder, before you install the RAS server, and grant FULL CONTROL to this folder to 'NT Authority\NETWORK SERVICE'. If you have questions, please contact Vertical Support and reference this article.
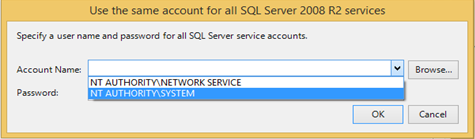
- Click the drop-down box for the Account name and choose NT AUTHORITY\SYSTEM. Click OK.
- Click Next to proceed.
- Next, the Database Engine Configuration appears. Under Authentication Mode, select Mixed Mode.
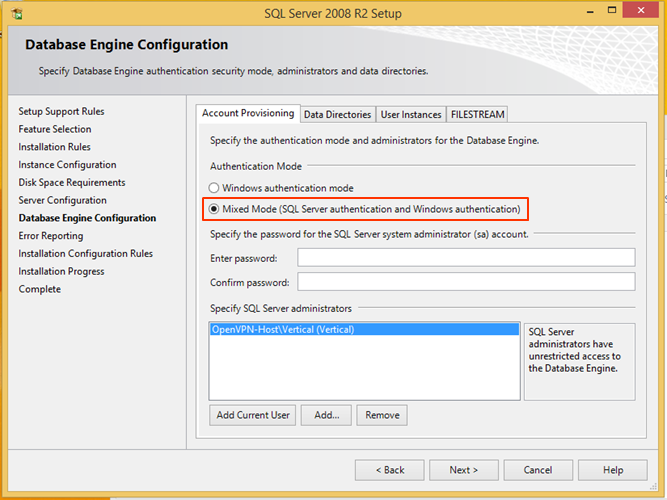
- Enter an SA password for the database (make sure to follow best practices for complex passwords). Make sure to record the password for later use.
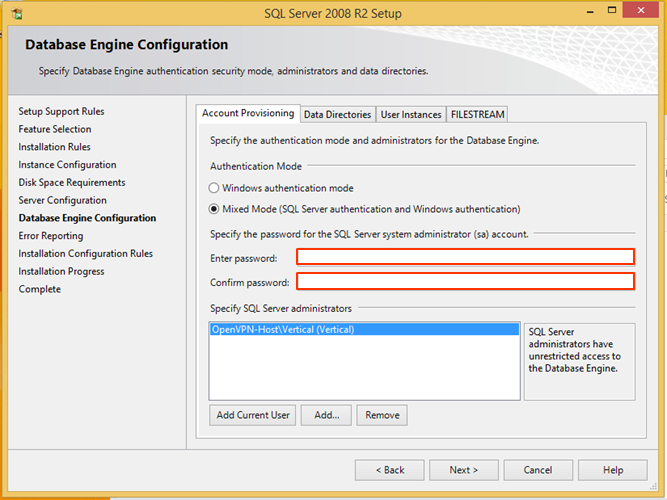
- Click Next to proceed.
- Click Next to proceed past Error Reporting and start the install.
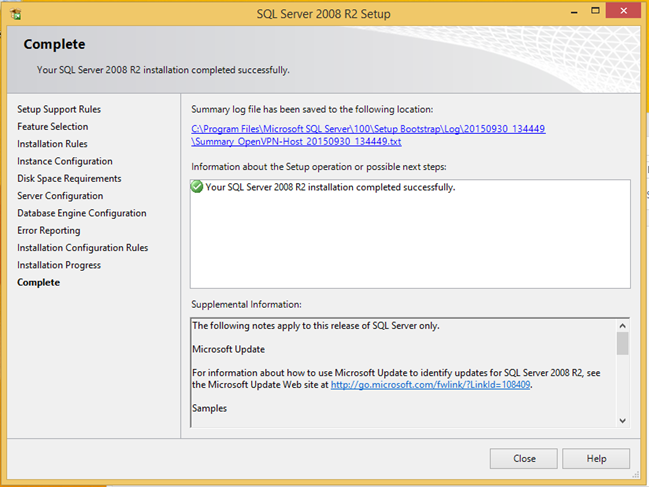
- When the install completes, click Close.


Configure SQL for TCP/IP
- Click Start and Choose SQL Server Configuration Manager (this may trigger a UAC dialog. Click Yes.)
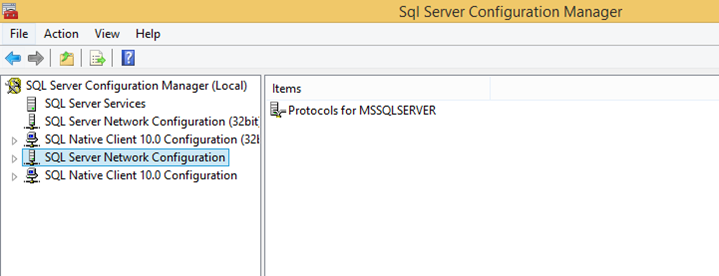
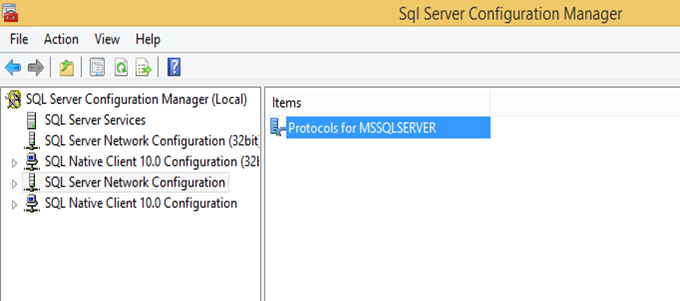
SQL 2017 - Open Computer Management. Under 'Services and Applications', expand SQL Server Configuration Manager, then you can follow the other screenshots as shown below. - Click on SQL Server Network Configuration.
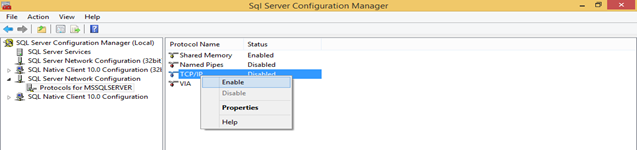
- Double-click on Protocols.
- Right-click on TCP/IP and choose Enable.
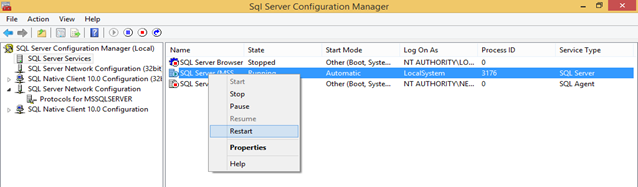
- Click on SQL Server Services.
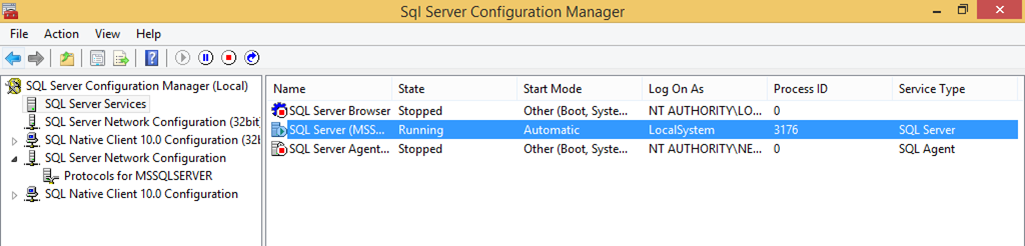
- Right-click SQL Server and choose Restart. This will restart the SQL Server and apply the setting change.
- Close the Server Configuration Manager.


