- Log in to Global Administrator (see Login to Wave IP Global Administrator).
- Make sure 5.0 HF 1 is loaded. This is not currently included in Vertical Updates so it will need to be manually installed.
- Make sure the license key for the Inbound Survey Application is loaded. The first port should be included with your base license set (but may not have loaded if HF 1 was not installed before the license key is added.) See Add Licenses to Wave.
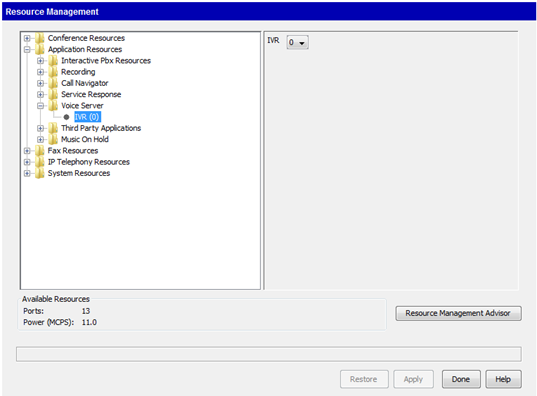
- Assign Resources to the Voice Server>IVR group. Resources will equal the number of licensed ports installed. See Set Resource Management.
- Make sure the correct voice is assigned in Voice Server (see Set Voice for Text to Speech (TTS) in IVR). Kate or Paul are the US English voices and should be set for most use cases. Violeta is Spanish and Bridget is UK English (both of these need a special software fix to work in 5.0. Contact Support for assistance).
- Make sure ports are assigned for Inbound IVR use. By default, all IVR ports are assigned to inbound usage. Check the Outbound IVR settings to see how many ports are assigned to Outbound use (see Assign Ports for Outbound IVR use).
- Build an Application Hunt Group for each inbound campaign (see Create an Application Hunt Group). This will assign an extension in the routing plan for that campaign, allocate inbound ports to the campaign, and allow setting the action if the inbound ports aren't available to take the call.
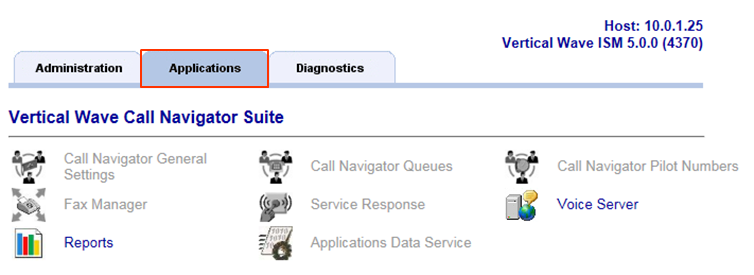
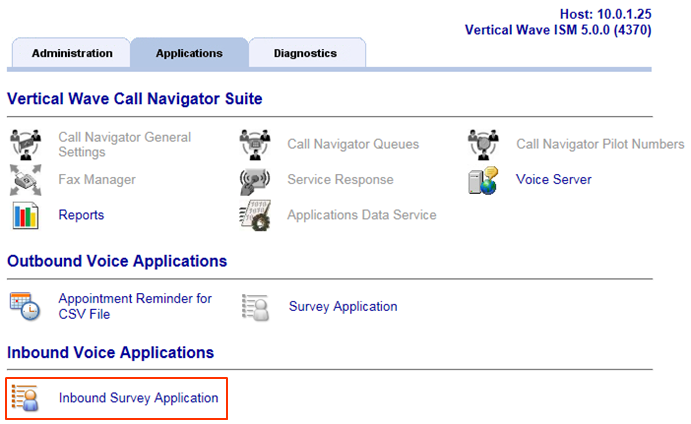
- Click on the Applications tab in GA.
- Click on the Inbound Survey Applications applet.
- Click on New to create a new Campaign.

- Enter a Name for the new campaign. The Description field below allows a longer explanation of the purpose of this campaign. It is only for reference.

- Enter the Extension of the Application Hunt Group created for this campaign in the Pilot field. This connects this campaign to the Application Hunt Group.

- Click on Build Prompt to create the initial message callers hear when they dial the extension (see Build IVR Prompt for more details).

- The Caller Identification Menu is used to filter callers by their CallerID, only allowing matching callers to proceed to the survey. Choose to enable it by clicking the Enable box. See Inbound IVR and Caller ID for more information on using this feature.
- The next step is to build the survey by adding questions to the Message list (see Add IVR Questions).
- The Closing is the last prompt played to the caller. Build the prompt for any closing words (see Build IVR Prompt).
- Make sure to Save the Campaign.

- Start the Campaign to make it active.

- Test by calling the extension assigned to the campaign.


