
Installing an Open VPN Server Virtual Machine is necessary to support remote phones (see OpenVPN Server Overview). This article outlines the process.
NOTE: Though it is possible to install this VM under Window Server core with the Hyper-V role installed or Hyper-V Server itself, this article will not cover that. These instructions are written with the understanding that...
- The vast majority of PCs used to host this OpenVPN virtual machine will run Windows 10 as their OS and thus have access to GUI tools.
- If the intended target is on a Hyper-V enabled server without a GUI that the administrator of said server will understand how to accomplish the task of importing the VM using the outline of the info given below.
If you need instructions on installing the OpenVPN server on VMWare, go here: Install OpenVPN Server Virtual Machine (VM)
- Windows 8.1 Pro / Windows 10 Pro or supported Windows Server edition with the Hyper-V role installed.
- It is recommended that the virtual machine be allocated the following resources:
- Minimum 1 procoessor core
- 2 GB RAM
- 20 GB hard drive space
- Copy of OpenVPN-HyperV.zip downloaded and extracted to your Hyper-V PC's desktop.
- It is recommended that the virtual machine be allocated the following resources:
Configuration:
Login to Windows and launch the Hyper-V Manager (Right click and choose Run as administrator).
Verify / Create the 'Virtual Switch':
Before we begin to import the OpenVPN VM to Hyper-V, we must first ensure that a proper Virtual switch exists to connect it to.
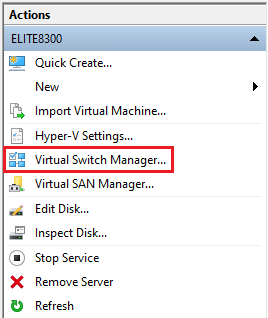
- In the far right pane, open 'Virtual Switch Manager...'
- Now, either verify or create a new virtual network switch that is configured as an 'External network' and assigned to a physical NIC as shown below. If your virtual switch is NOT named 'Hyper-V Switch', make a note of the name as when you import the VM later it will throw an error about this switch missing; but you can simply attach whatever name you verify / create here.

Import the Virtual Machine (VM):
- Again, in the far right pane, choose 'Import Virtual Machine...'

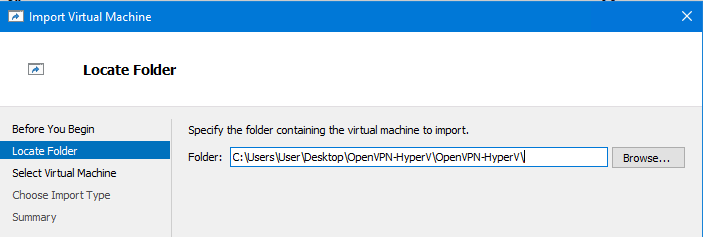
- The wizard will start & will walk you through importing the machine. Step 1 is to browse for the folder containing the OpenVPN Hyper-V machine files. If you unzipped it to your desktop, the path below is correct, only replacing the 'user' with your username.
NOTE: Depending on your zip application, when you unzip the file to your desktop, it may do so to an OpenVPN-HyperV folder, which then contains another OpenVPN-HyperV folder; the latter is the folder you need to select.
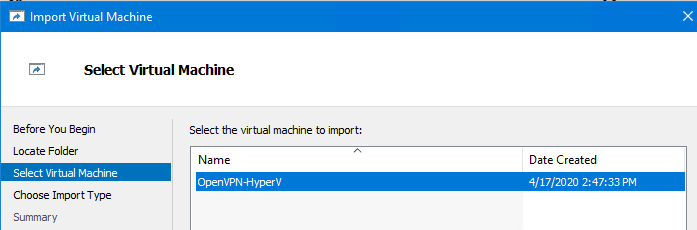
- Next, you should see the name of the VM, OpenVPN-HyperV.
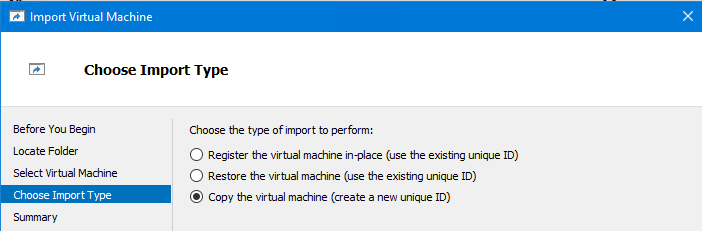
- In this step, it is recommended that you 'Copy the virtual machine (create a new unique ID)'.
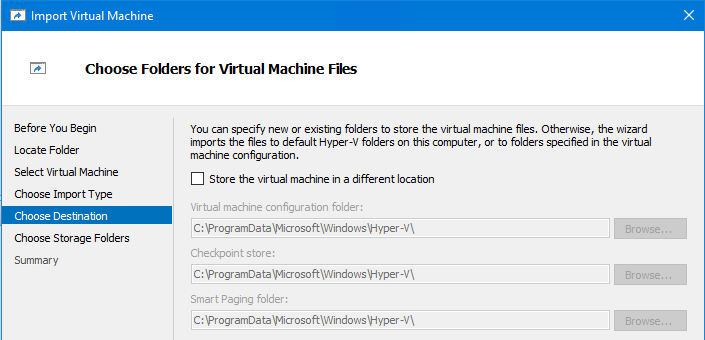
- This screen shows where the VM itself will be stored. Unless you have a specific reason to do so, just accept the defaults presented and continue.
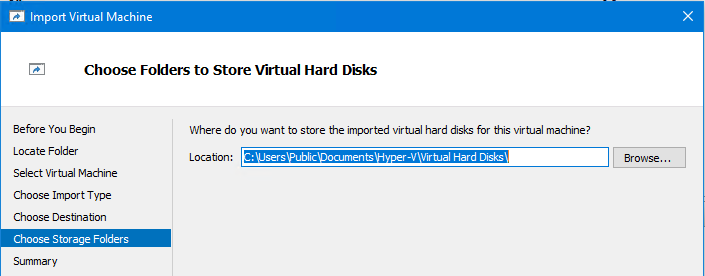
- This screen shows where the virtual hard disk (.vhdx) file will be stored. Again, unless you have a specific reason to change this, accept the default & continue.
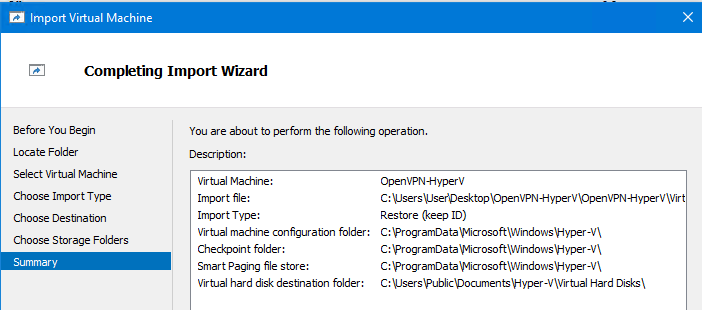
- On the 'Completing Import Wizard' screen, just confirm all the setting you've chosen.
- If you did not get an error when importing your VM, please continue to 'Starting / Configuring the OpenVPN server' below. If you did get an error, the virtual switch for the VM needs to be configured. Select the VM in the middle pane of the Hyper-V Manager, then in the right hand pane, select 'Settings...'

- Select 'Network Adapter' and in the 'Virtual switch' dropdown box, select the name of the virtual switch from 'Verify / Create the Virtual switch': step 2 and then apply it.

Starting / Configuring the OpenVPN server:
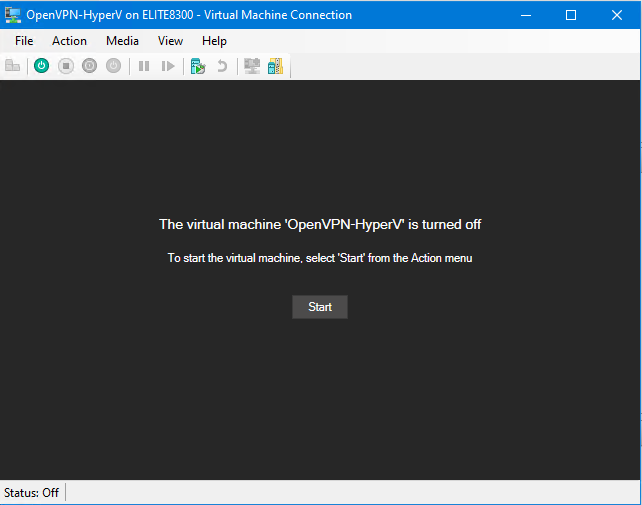
- In the Hyper-V Manager, double click on the VM to bring up the connection window. Click Start.
- Select the 'openvpn' user as below and login with the default password, Vertical4VoIP!

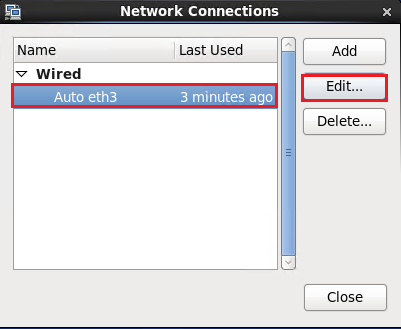
- Once logged in, go to System -> Preferences ->Network Connections.

- In the window that opens, there should be a single Wired connection listed, select this and click 'Edit...'
- Here, click on 'IPv4 Settings'. Set the Method to 'Manual', then set the Address, Netmask (can be entered as the bitmask (24) or traditionally, 255.255.255.0), the Gateway, and DNS server(s) and click 'Apply'.
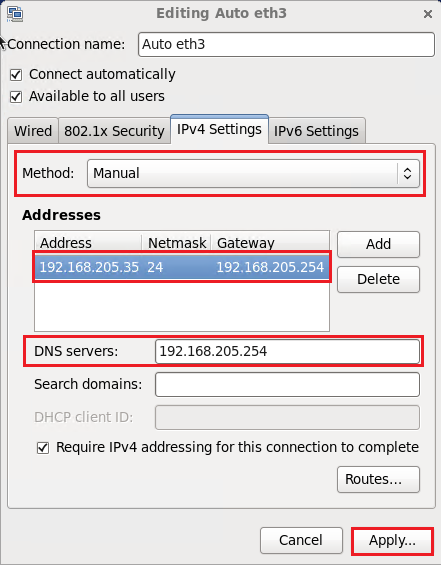
- You will be prompted to authenticate (as the root user); the default password is the same as the openvpn user's.

Next steps...
Continue on with Choosing OpenVPN Server Method