- Log on to the RAS PC with the install User Account.
- Open Windows Explorer. Do this using one of these methods:
- On the keyboard, pressing the Windows Key + E
- Pressing Start and clicking on Computer.
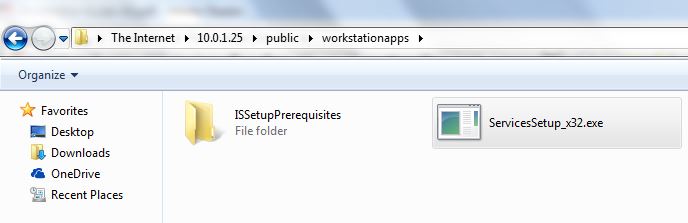
- Run the Vertical Wave Services Setup on the RAS Server. This file is found on the Wave IP. To get to it, paste the following line: ftp://<Wave Server Host Name>/public/workstationapps/ into the address line of Windows Explorer. Choose the ServicesSetup file that matches your install. For 32-bit installations choose ServicesSetup_x32.exe. For 64-bit installations choose ServicesSetup_x64.exe.
- The file will download. A message will appear (likely in the default browser) asking to Keep or Discard the file. Choose Keep.

- Click on the file to launch it (you may have to navigate to the Downloads folder to find it.
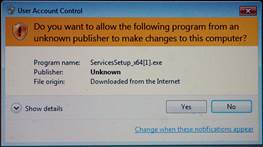
- Launching the file will trigger a UAC dialog. Click Yes on it.
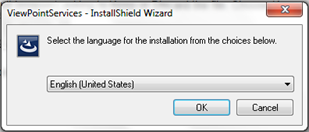
- Install will start with a language selection box. Choose the appropriate language to begin.
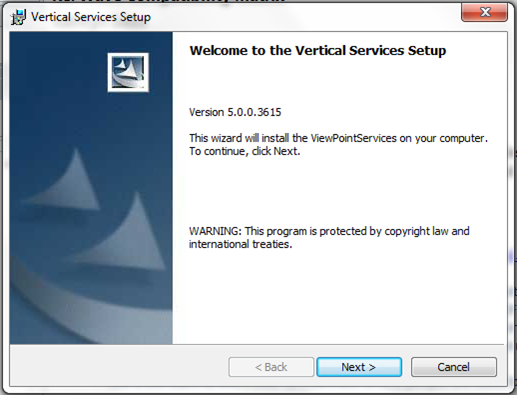
- The Install Wizard will start. Click Next to proceed.
- The server may need another component to install. Click Install to allow install.

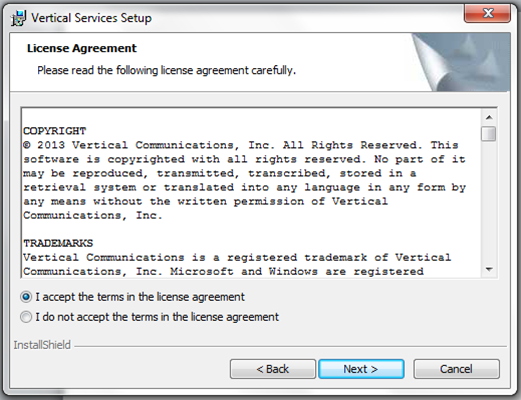
- The License Agreement appears. Click to accept the license agreement and then click Next.
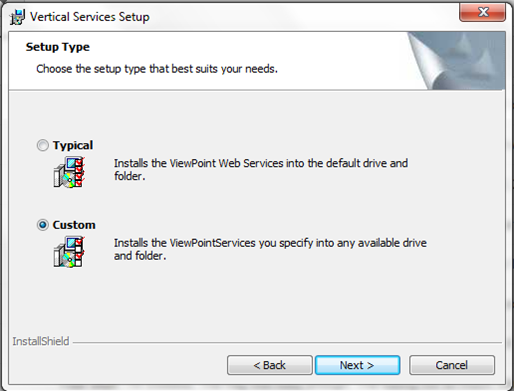
- Choose Custom install and click Next.
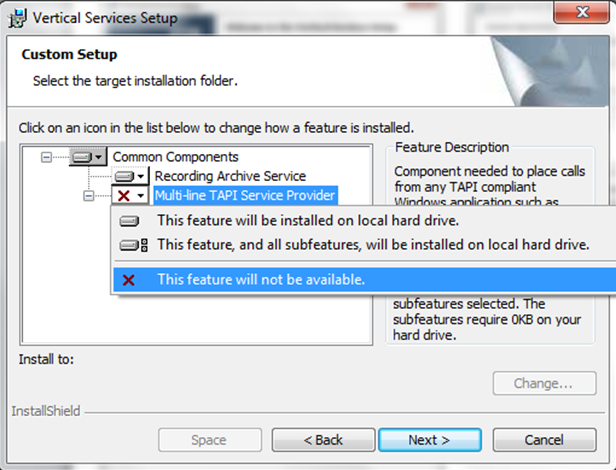
- Click on the disk icon next to Multi-line TAPI Service Provider and select 'This feature will not be available." Click Next.
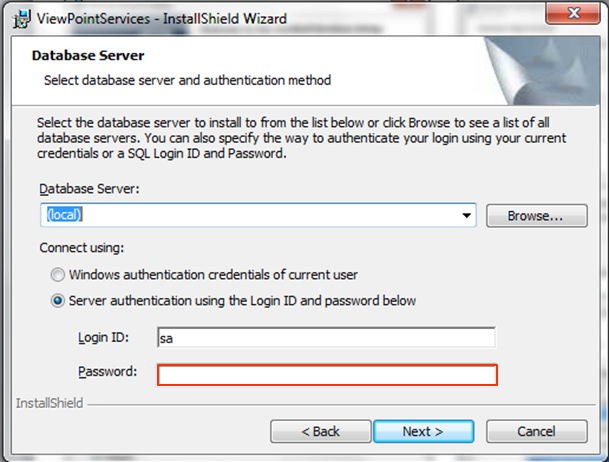
- On the next screen enter the SA password set when SQL was installed. Click Next.
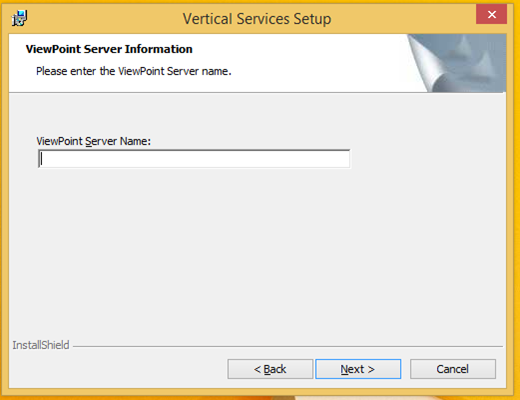
- In the next screen, enter the Wave name or IP address. Click Next.
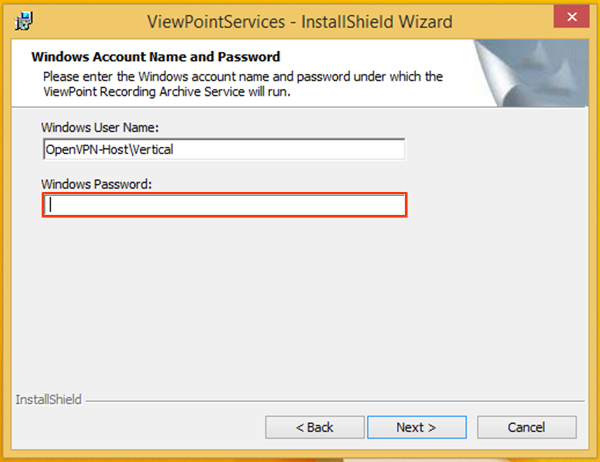
- The next screen requires specifying the account credentials that will be used to run the service. The install User Account is already filled in as the user name. Add the password set for this account and click Next.
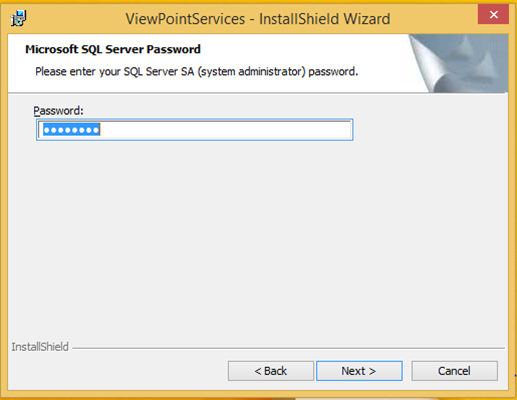
- The next screen specifies the SA password. This should already have been entered in the field. Click Next.
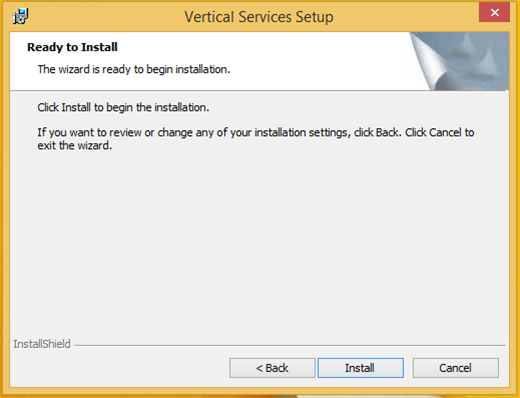
- The application is now ready to install. Click Install to start.
- The application installs.
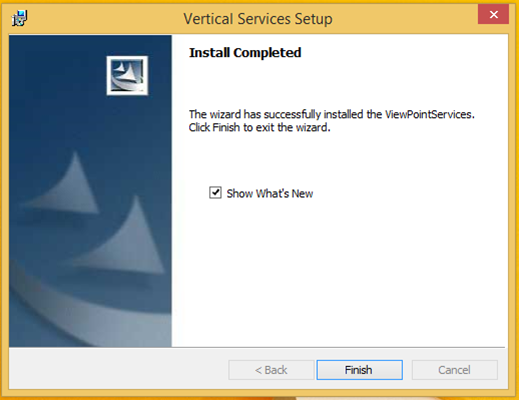
- When it is finished, click Finish (uncheck the box to avoid seeing the What's New file).
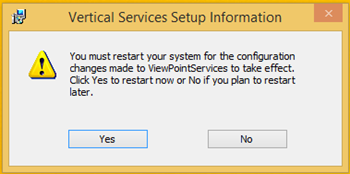
- The system may require a Restart. Click Yes to restart the system.